Adhoc invoice approvals
What are Ad Hoc Approvals?
In Zahara you can create as many pre-determined Approval processes as you need – for purchases and for invoices. These rely on logic to determine who the approver is or indeed if the Purchase or Invoice needs to go for approval.
There are times though, with invoices, when sometimes you just want to select someones name from a list. We call this Ad-Hoc approvals.
To enable Ad Hoc approvals – head to Business > Settings > Workflow
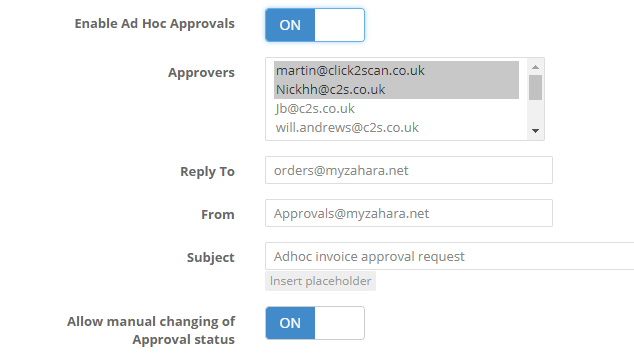
Firstly, switch Ad Hoc on.
You will then see the extra settings. Multiple select your finance users from the list that can use this feature and send invoices out for approval.
Set the “Reply To” address – perhaps this will be the email address for the finance team or a particular user in finance.
Set the from address, as per your SMTP settings – so if you use Zahara’s SMTP make sure this is an @myzahara.net email address.
Then set the subject for your Ad Hoc invoice approvals
Save your settings
Using Ad Hoc Approvals
Using Ad Hoc approvals is very easy. From your invoice, you choose an approver and determine the outcome if it’s approved.
Treat as Complete – we have built-in a feature that you need to be aware of. If you send an invoice to Tony for approval and he approves it- is that the end of it or are you wanting to send it on to other people afterwards? Perhaps there are multiple lines to approve. “Treat as complete” means that if Tony approves it, and you set it as “Treat as complete” then you will see the Green approve icon. If however, you don’t tick this, you will see a flashing orange icon. The flashing icon means its been actioned so you now need to look at it.
Sending for approval
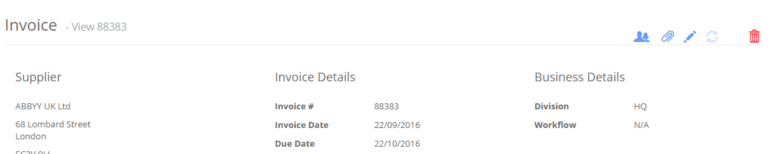
Firstly, click into your invoice by clicking the invoice number. You will now see this new icon …
Click the people icon …
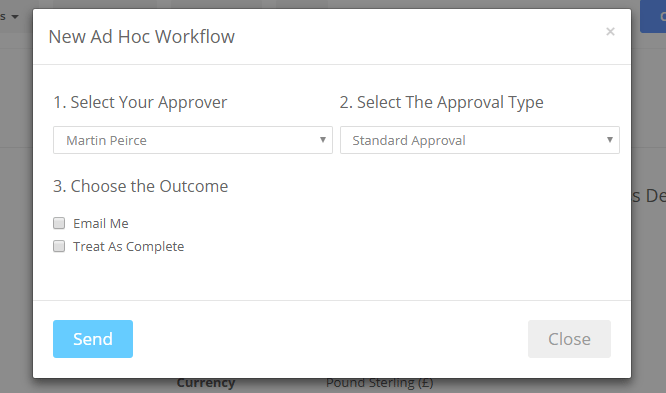
- Select your approver – just the approver you want.
- Select the approval type – standard, Must Edit or Can Edit
- Select the outcome – Email Me – will email you the outcome, Treat as complete – see above
- Click Send
Now the approver will receive the approval email, the history will be updated and the icon will stay orange until actioned.
Finalising the approval
If you didn’t click “Treat as Complete” you can manually change the invoice status to Green when you are happy that the invoice has been approved. 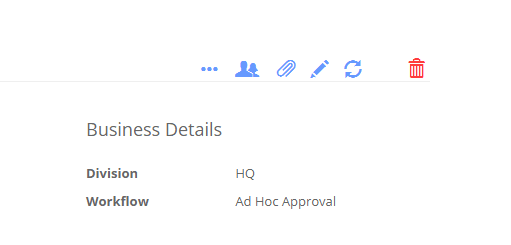
Use the … menu to Change the status in the list to Green (Approved) or Red (Rejected)
Related Articles
Approvals Videos - Tutorials
Invoice approvals: setting up approvals Approvals in actionInvoice Coding Approvals
There are times when you need your approvers to also code an invoice. Coding can include the Account code (ledger / nominal), the Cost Code or the Project code. You can create an approval set that requests / demands the user takes action. Edit your ...Slow approvals
There are essentially two ways to approve a document in Zahara, either from the website or from a link set in an approval email. If you are finding the approval process to be slow when approving from an email link, then it’s likely being caused by ...Invoice Processing In Zahara
Overview In Zahara you can record two types of invoices - standalone and those that relate to a purchase order. There are several different ways of recording an invoice in Zahara and there are two applications you can use to scan / load invoices - ...Batch Approvals
Dashboard > Approver An approver can login and see all of the Orders waiting for approval as shown below. They can multiple select and batch Approve or Reject or click against individual PO Numbers to see the full Narrative. Once Approved or ...