Importing users
Introduction
Creating a large number of users? Using our Import Users feature, you can create a large number of users in Zahara at the same time. This is perfect for initial setup as well as to assist in the expansion of your business in Zahara.
Getting started
Navigate to the Tenancy Admin page. This can be found by clicking ‘Settings’ under the ‘Admin’ drop down menu in Zahara.
Scroll down to the list of users currently in the tenancy, and press the button on the right side of the panel:

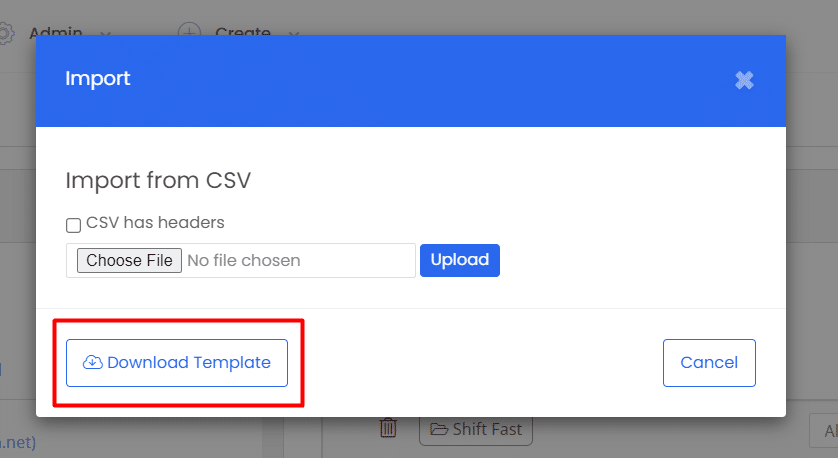
This will create a pop-up box where you can download a template CSV file, and import the document. Click the Download Template button in the bottom left.
Configuring the CSV
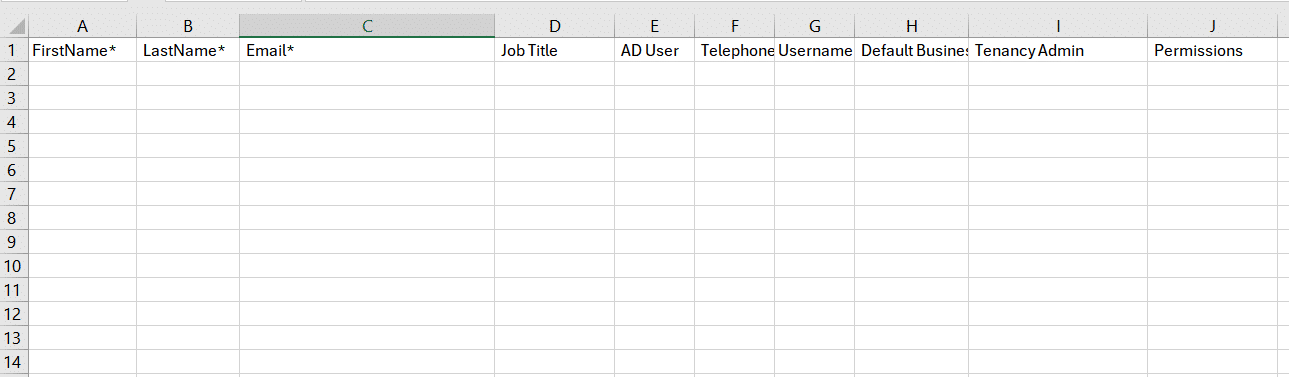
Now you have a copy of the template, you can begin to enter in the users you wish to add. The first three columns are required fields- these must be complete for a successful import.
- First Name – Required
- Last Name – Required
- Email – Required. Ensure this is not an existing email address in Zahara. If it is an email that has been previously used in Zahara, please contact our Support Team to request a user email to be recycled.
- Job title – This can be anything you wish.
- AD User – Please ignore this field for now, it has no current usage in Zahara.
- Telephone
- Username – Used to log in to Zahara
- Default Business Unit – The Business Unit that will be open when a user logs into Zahara
- Tenancy Admin- Enter ‘True’ into this box to make the user a Tenancy Admin. This will grant the user broad privileges across Zahara including access to the Admin panel.
- Permissions – This is slightly more complex! Please see below for more information.
Ensure the ‘CSV has headers’ box is checked after importing the file to ensure that the document is read correctly.
Importing Permissions
Below is an example string that shows the formatting for the permissions cell per user.
[BG]CUDV-[BD]CUDV-[BS]CUDV-[BU]CUDV-[CC]CUDV-[DS]CUDV-[IN]CUDV-[NC]CUDV-[PR]CUDV-[P]CUDV-[PJ]CUDV-[PO]CUDV-[R]CUDV-[S]CUDV-[TC]CUDV-[U]CUDV
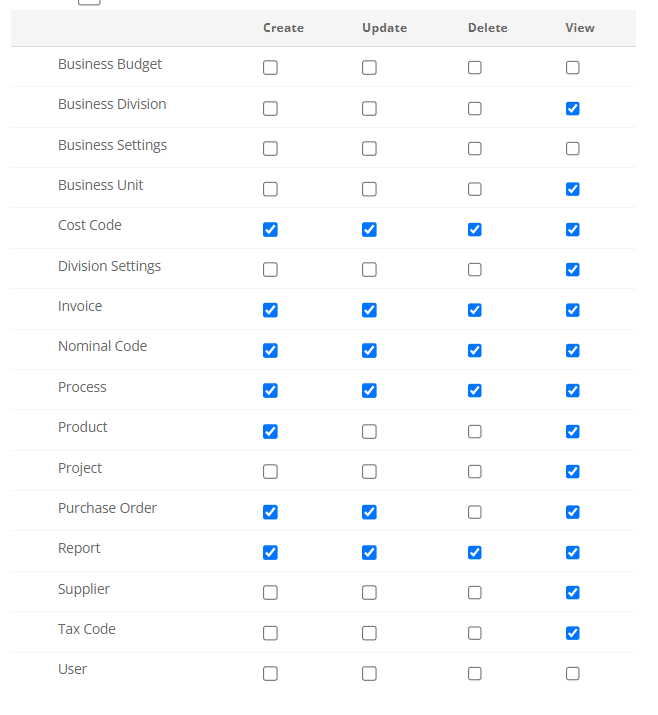
This might seem complicated, but do not worry! It directly refers to this permissions panel for each user:

The above example essentially grants the user every permission. The two letters within the square brackets are the ‘row’ of this table:
Business Budget ([BG]), Business Division ([BD]), Business Settings ([BS]), Business Unit ([BU]) and so on.
The four letters immediately after the code are the vertical columns. The C refers to the Create permission, the U refers to the Update permission, and D and V refer to Delete and View respectively.
For each user, you will need to adjust this format to represent the permissions needed for each user. For example, if I wanted a user to be able to Create, Update, and View, but not Delete, for a row, you would include only the two letter code, followed by ‘CUV’ (e.g [IN]CUV). Each section must be separated by a hyphen.
Below is an example import string for a user with a more complex permission requirement in their business:
[BG]-[BD]V-[BS]-[BU]V-[CC]CUDV-[DS]V-[IN]CUDV-[NC]CUDV-[PR]CUDV-[P]CV-[PJ]V-[PO]CUV-[R]CUDV-[S]V-[TC]V-[U]
When imported, the user permissions will look like this:
Related Articles
Deleting users
If you have the Tenancy admin permission you can delete users. Just find the user and click their name to enter the details and permissions screen. Then click the big red button that says ‘Remove User’. The user permissions are found under the Admin ...Troubleshooting users
These are the typical user issues The user cannot login but they are a registered user The user account has been created but the user hasn’t been assigned to a Division or provided with a role. Check their assignment, role and permissions. The user ...Importing Suppliers
If you use Xero, QBO or one of the other full integrations, suppliers will be imported as part of the sync. If you use another finance system you can import your suppliers very easily. Head to the supplier list from the Business menu. Importing ...Importing products
Products (inventory) belong to suppliers. So products are imported into individual supplier records. This means when raising purchase orders, you can select products for each line item that have had the pricing and products codes pre-set. Importing ...Bulk importing orders
You can bulk import orders from a CSV file. Go to the Documents > Purchases pages and select import from the New Purchase Order button. Now download the CSV template. > Then download the template from this screen: Column Headings The process is ...